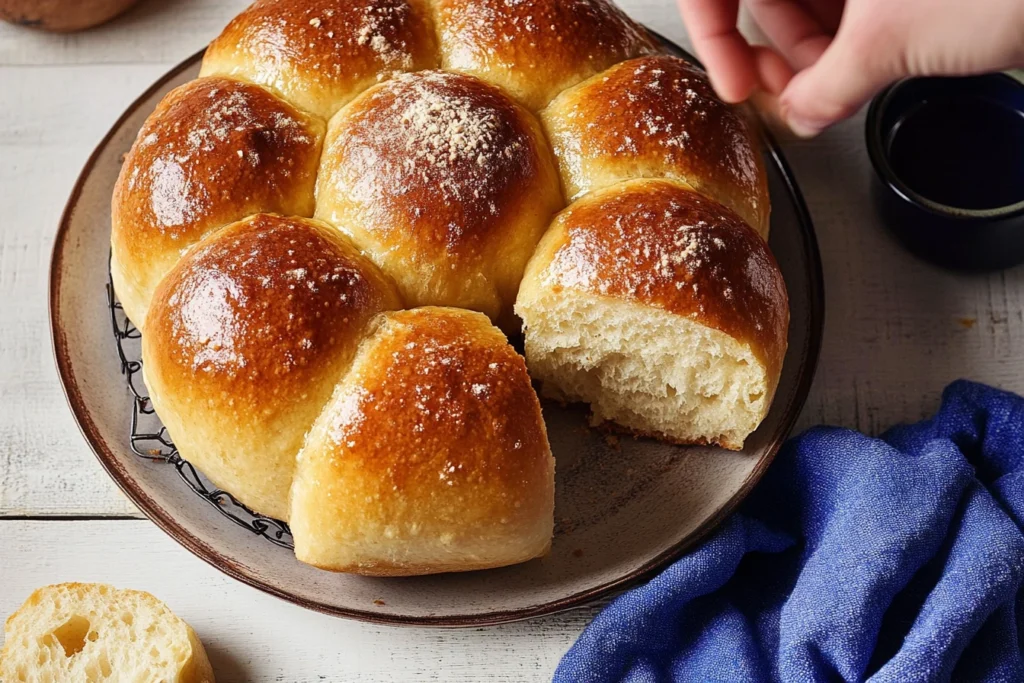
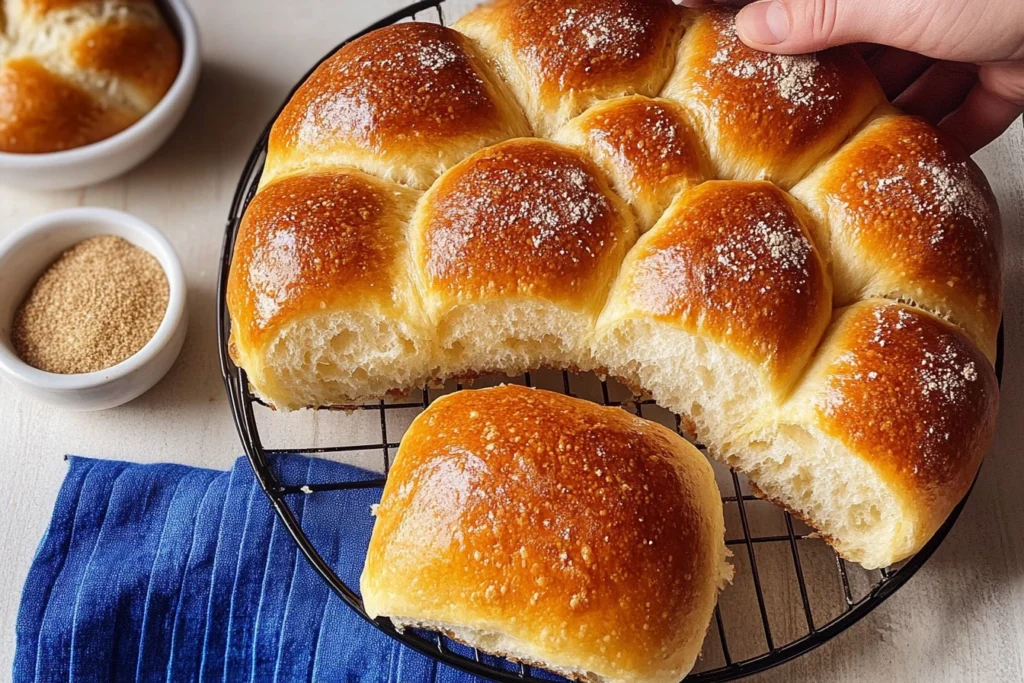
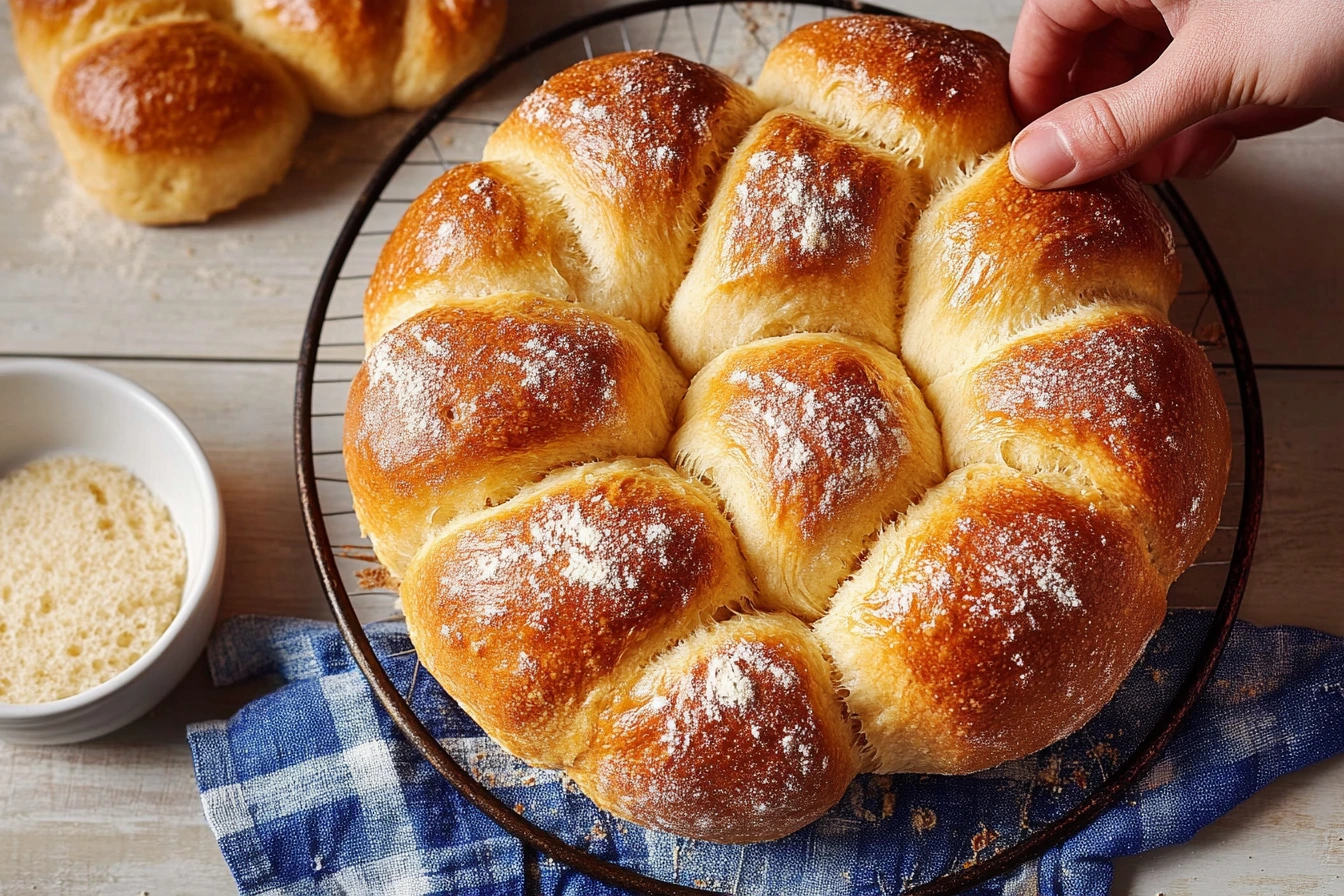
There’s something incredibly comforting about the smell of freshly baked bread wafting through your home. The warmth, the aroma, and the anticipation of taking that first fluffy bite can make any meal feel special. Imagine fluffy sourdough dinner rolls sitting on your table, inviting your family and friends to enjoy a slice of homemade goodness. If you’ve ever wondered how to make these delightful rolls from scratch, you’re in the right place. In this guide, you’ll learn how to create the perfect fluffy sourdough dinner rolls that impress you. Let’s embark on this delicious journey together!
Table of contents

What Makes Sourdough Dinner Rolls Different?
Sourdough vs. Regular Rolls
One of the most significant differences between sourdough and regular rolls is the system of leavening. While regular rolls typically rely on commercial yeast, sourdough utilizes a natural fermentation process. This involves a sourdough starter an admixture of flour and water that captures wild yeast and bacteria from the terrain. This unique fermentation gives sourdough its characteristic tangy flavor and chewy texture, elevating it beyond your average bread.
The Health Benefits of Sourdough
You might be surprised to learn that sourdough is often easier to digest than traditional bread. The fermentation process breaks down gluten and phytic acid, making it more bioavailable for your body. Additionally, sourdough has a lower glycemic index, which means it can help maintain stable blood sugar levels. These factors make sourdough an excellent choice for those seeking healthier options without sacrificing taste.
Why Fluffiness Matters in Dinner Rolls
When it comes to dinner rolls, fluffiness is key. Fluffy rolls provide a light and airy texture, making them perfect for soaking up gravies, soups, or sauces. They also make an ideal accompaniment to any meal, from family gatherings to holiday feasts. Achieving that perfect fluffiness is the ultimate goal of this recipe, and with the right techniques, you can master it.
Essential Tools & Ingredients
Before diving into the baking process, ensure you have the right tools and ingredients. Here’s what you’ll need:
Essential Tools:
- Kitchen scale (for accurate measurements)
- Mixing bowls
- Dough scraper
- Proofing basket (banneton)
- Baking sheet
- Clean kitchen towel
- Instant-read thermometer (optional but recommended)
Ingredients: To make your fluffy sourdough dinner rolls, gather the following ingredients:
- Active sourdough starter: ½ mug (fed and bubbly)
- Bread flour: 2 ½ cups (high-protein flour preferred)
- Water: ¾ cup (room temperature)
- Salt: 1 ½ teaspoons (sea salt for better flavor)
- Unsalted butter: ¼ cup (softened, for added richness)
Table of Ingredients
| Ingredient | Measurement | Notes |
|---|---|---|
| Active sourdough starter | ½ cup | Fed and bubbly |
| Bread flour | 2 ½ cups | High-protein flour |
| Water | ¾ cup | Room temperature |
| Salt | 1 ½ teaspoons | Sea salt for better flavor |
| Unsalted butter | ¼ cup | Softened, for added richness |
Step-by-Step Guide to Making Fluffy Sourdough Dinner Rolls
Now that you have everything ready, let’s get started on your fluffy sourdough dinner rolls. Follow these steps closely to achieve the best results.
Step 1: Preparing the Sourdough Starter
The first step to making your dinner rolls is to prepare your sourdough starter. For optimal performance, feed your starter 4-8 hours before you plan to bake. This will ensure it’s active and bubbly, ready to leaven your dough, ready to leaven your dough.
Key Points:
- Look for bubbles and a slight dome on the starter—this indicates it’s active.
- If you see a layer of liquid (called “hooch”) on top, it’s time to feed it again.
Step 2: Mixing the Dough
In a large mixing coliseum, combine the water, active sourdough starter, chuck flour, and salt. Stir until you have a shaggy dough.
Kneading:
- Transfer the dough to a smoothly floured face and knead it for about 8- 10 minutes.
- The thing is to achieve a smooth and slightly sticky dough. If it feels too sticky, let it rest for a few minutes before kneading again.
Pro Tip: If you’re not sure if the dough is ready, perform the “windowpane test.” Stretch a small piece of dough; it should form a thin membrane without tearing.
Step 3: First Rise (Bulk Fermentation)
Once your dough is kneaded, place it in a lightly greased bowl and cover it with a clean kitchen towel or plastic wrap. Let it rise in a warm place for about 3-4 hours. During this time, you’ll want to perform a series of folds every 30 minutes to help develop the gluten.
Key Points to Remember:
- After each pack, cover the dough and allow it to rest.
- You’re aiming for the dough to double in size and develop visible bubbles.
Step 4: Shaping the Rolls
After your dough has completed the bulk fermentation, it’s time to shape your rolls. Smoothly flour your work face and turn out the dough.
- Divide the Dough: Use a bench scraper to cut the dough into 12 equal pieces.
- Shape Each Piece: Take each piece and form it into a round ball by pulling the edges into the center and rolling it in your hands.
Optional: For an extra touch of flavor and richness, brush each shaped roll with melted unsalted butter before placing them in the baking pan.
Step 5: Final Proofing
Now that your rolls are shaped, it’s time for the final proofing. Place the rolls in a greased baking pan, ensuring they are close but not touching. Cover them with a clean kitchen kerchief.
- Time: Allow the rolls to proof for 2-4 hours at room temperature, or add flavor, you can refrigerate them overnight. If refrigerated, let them come to room temperature for about 30-60 minutes before baking.
Step 6: Baking the Rolls
Preheat your oven to 375°F (190°C) while your rolls are finishing their final proof.
- Bake: Place the rolls in the oven and bake for about 20-25 minutes, or until they are golden brown on top.
- Optional Tip: If the rolls are browning too quickly, cover them with foil for the last 5 minutes of baking.
Internal Temperature Check: For perfectly baked rolls, you can use an instant-read thermometer. The internal temperature should reach about 190°F (88°C).

Common Mistakes to Avoid When Making Sourdough Rolls
While making sourdough rolls may seem straightforward, there are common pitfalls to avoid. Here are some tips to ensure your rolls turn out perfectly:
Under-proofing or Over-proofing
Proofing is a crucial step in sourdough baking. Under-proofed dough can lead to dense rolls, while over-proofed dough may collapse in the oven. To achieve the perfect rise, keep a close eye on the dough’s volume and texture during the proofing stages.
Skipping the Folding Process
Folding your dough during bulk fermentation is essential for developing gluten. If you skip this step, your rolls may lack structure and fluffiness. Remember to fold every 30 minutes, gently stretching and folding the dough back onto itself.
Inconsistent Starter Activity
If your starter isn’t consistently active, it can lead to unpredictable results. To maintain a healthy starter, feed it regularly and keep it at a stable temperature. If you’re baking in a colder environment, consider placing your starter in a warm spot to encourage fermentation.
FAQs About Making Sourdough Dinner Rolls
How Long Can I Store Sourdough Rolls?
Sourdough rolls are best enjoyed fresh, but if you have leftovers, you can store them at room temperature for 2-3 days. For longer storage, consider freezing them. Just make sure to wrap them tightly in plastic wrap or foil to prevent freezer burn. They can be frozen for up to a month.
Can I Make Sourdough Rolls Without a Starter?
Technically, you need a sourdough starter to produce sourdough rolls. However, if you don’t have one, you can make a simple starter at home using flour and water. Alternatively, you can use commercial yeast as a substitute, but this will alter the flavor and texture.
What’s the Best Way to Reheat Sourdough Rolls?
To overheat your rolls, preheat your roaster to 300 °F( 150 °C). Wrap the rolls in aluminum foil to keep them moist and place them in the oven for about 5-10 minutes. This method will help revive their freshness without drying them out.

Conclusion
Making fluffy sourdough dinner rolls from scratch may seem like a daunting task, but with the right techniques and a little patience, you can create something truly magical. These rolls are not just a side dish; they are a centerpiece that brings warmth and comfort to any meal.
So, gather your ingredients, roll up your sleeves, and embark on this delicious baking adventure. Your family and friends will be grateful, and you’ll feel a sense of pride every time you serve them.
Have you tried making your sourdough dinner rolls? Share your experiences, tips, or questions in the commentary below! Let’s create a community of passionate bakers ready to share in.

