Introduction
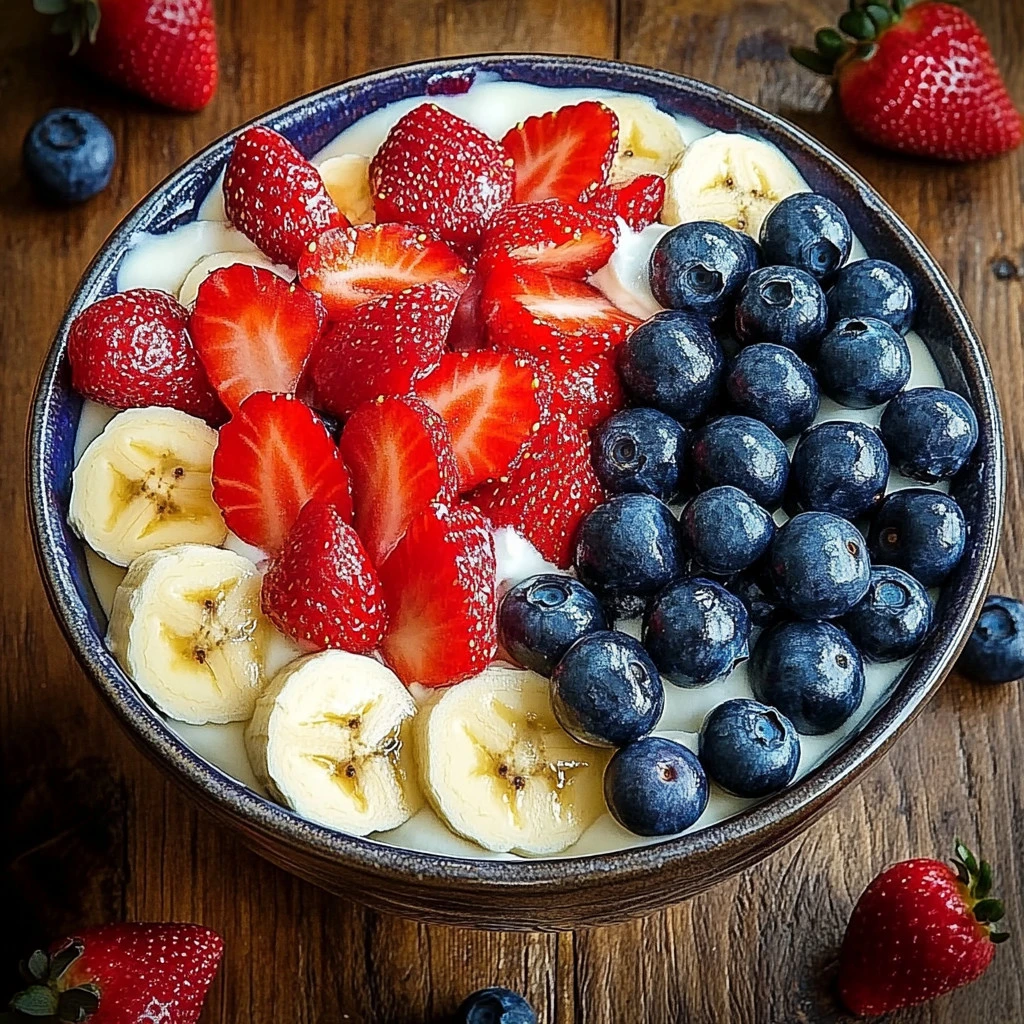
Growing up, summer meant family gatherings filled with laughter, sunshine, and an abundance of delicious food. One centerpiece dish that always made an appearance on the picnic table was my grandmother’s special Red, White and Blue Cheesecake Salad. This vibrant dessert not only brought a burst of color but also a wave of nostalgia as I brushed aside the berries to uncover that silky cheesecake layer beneath. Perfect for Independence Day or any summer occasion, this salad celebrates the colors of our flag while melding the creamy richness of cheesecake with the freshness of fruit.
This dish is a delightful twist on traditional cheesecake, offering a light yet indulgent experience that’s both visually stunning and utterly delicious. So let’s dive in and create a treat that’s bound to impress family and friends, while connecting us all with those cherished memories of summer days gone by.
Why You’ll Love This Red, White and Blue Cheesecake Salad
- No baking required: Enjoy the cheesecake flavor without the oven.
- Gluten-free: A delightful option for gluten-sensitive eaters.
- Kid-approved: Children love the colorful presentation and sweet flavors.
- Make-ahead: Perfect for parties, it stores well in the refrigerator.
- Versatile: Adjust fruit or toppings to your preference.
Ingredients
- 1 (8 oz) package cream cheese, softened
- 1/2 cup powdered sugar
- 1 teaspoon vanilla extract
- 1 cup heavy whipping cream
- 1 cup strawberries, hulled and sliced
- 1 cup blueberries
- 1 cup raspberries
- Optional: mint leaves for garnish
Step-by-Step Instructions
Prepare the Cheesecake Mixture
- In a mixing bowl, beat the softened cream cheese until smooth.
- Gradually add in powdered sugar and vanilla extract, mixing until well combined.
- In a separate bowl, whip the heavy cream until stiff peaks form.
- Gently fold the whipped cream into the cream cheese mixture until combined.
Assemble the Salad
- In a large bowl or individual cups, layer the sliced strawberries on the bottom.
- Spoon a layer of the cheesecake mixture over the strawberries.
- Add a layer of blueberries, then another layer of the cheesecake mixture.
- Top with raspberries and finish with a final scoop of cheesecake mixture.
Chill and Serve
- Cover the bowl or cups with plastic wrap and refrigerate for at least 2 hours, or until set.
- Before serving, garnish with mint leaves if desired.
Tips & Variations
- Swap fruits: Feel free to replace any of the berries with your favorites, such as blackberries or peaches.
- Dairy-free option: Use coconut cream instead of heavy cream and dairy-free cream cheese for a lactose-free version.
- Add a crunch: Incorporate crushed graham crackers or granola for added texture.
Storage Instructions
- Refrigerate: Store covered in the refrigerator for up to 3 days.
- Freeze: Not recommended for freezing, as it can alter the texture of the cream and fruits.
Nutritional Information
- Prep time: 20 minutes
- Chill time: 2 hours
- Total time: 2 hours 20 minutes
- Calories per serving: 250 (based on 6 servings)
- Servings: 6
Frequently Asked Questions
1. Can I make this salad ahead of time?
Yes! It can be made a day in advance. Just keep it refrigerated until you’re ready to serve.
2. What if I can’t find fresh berries?
You can use frozen berries; just ensure they are thawed and drained before using.
3. Can I use a different sweetener?
Absolutely! Feel free to substitute powdered sugar with your preferred sweetener.
4. Is there a way to add more flavor to the cheesecake?
You can add lemon juice or zest for a refreshing citrus twist!
9. Serving Suggestions or Pairings
Pair this delightful salad with a refreshing lemonade, or serve it alongside grilled chicken for a light summer meal. It also pairs well with a scoop of vanilla ice cream for an extra indulgence!
10. Final Thoughts
Creating this Red, White and Blue Cheesecake Salad is not just about the ingredients; it’s about the memories and moments it brings. I hope you embrace the fun of cooking and find joy in every bite as you make it your own. I’d love to hear how your version turns out, so feel free to share your thoughts or variations in the comments below! Enjoy!

Red, White and Blue Cheesecake Salad
Ingredients
- 1 package (8 oz) cream cheese, softened
- 1/2 cup powdered sugar
- 1 teaspoon vanilla extract
- 1 cup heavy whipping cream
- 1 cup strawberries, hulled and sliced
- 1 cup blueberries
- 1 cup raspberries
- mint leaves optional, for garnish
Instructions
- In a mixing bowl, beat the softened cream cheese until smooth.
- Gradually add in powdered sugar and vanilla extract, mixing until well combined.
- In a separate bowl, whip the heavy cream until stiff peaks form.
- Gently fold the whipped cream into the cream cheese mixture until combined.
- In a large bowl or individual cups, layer the sliced strawberries on the bottom.
- Spoon a layer of the cheesecake mixture over the strawberries.
- Add a layer of blueberries, then another layer of the cheesecake mixture.
- Top with raspberries and finish with a final scoop of cheesecake mixture.
- Cover the bowl or cups with plastic wrap and refrigerate for at least 2 hours, or until set.
- Before serving, garnish with mint leaves if desired.

